Setting up a new iPhone is exciting — but if you’ve never done it before, the process can feel a little overwhelming. The good news is that Apple built the iPhone Setup Assistant specifically to make this easy. It walks you through every step, from choosing your language to transferring your data, so you’re ready to use your device within minutes.
This guide covers everything you need to know about the iOS Setup Assistant — what it is, how to use it, how to go back to it and how it compares to voice assistants like Google Assistant and Siri.
What Is the iPhone Setup Assistant?
The iOS Setup Assistant is a built-in onboarding tool that launches automatically the first time you turn on a new iPhone or iPad or whenever you erase and reset an Apple device.
Think of it as Apple’s concierge. It greets you with the iconic “Hello” screen and then guides you step by step through activating your device, connecting to Wi-Fi, signing in with your Apple ID, setting up Face ID or Touch ID, choosing your privacy settings and transferring data from your old device. For official guidance, you can also refer to Apple’s iPhone setup support page.
Once the setup is complete, the Setup Assistant disappears. It only reappears if you erase and reset your device.
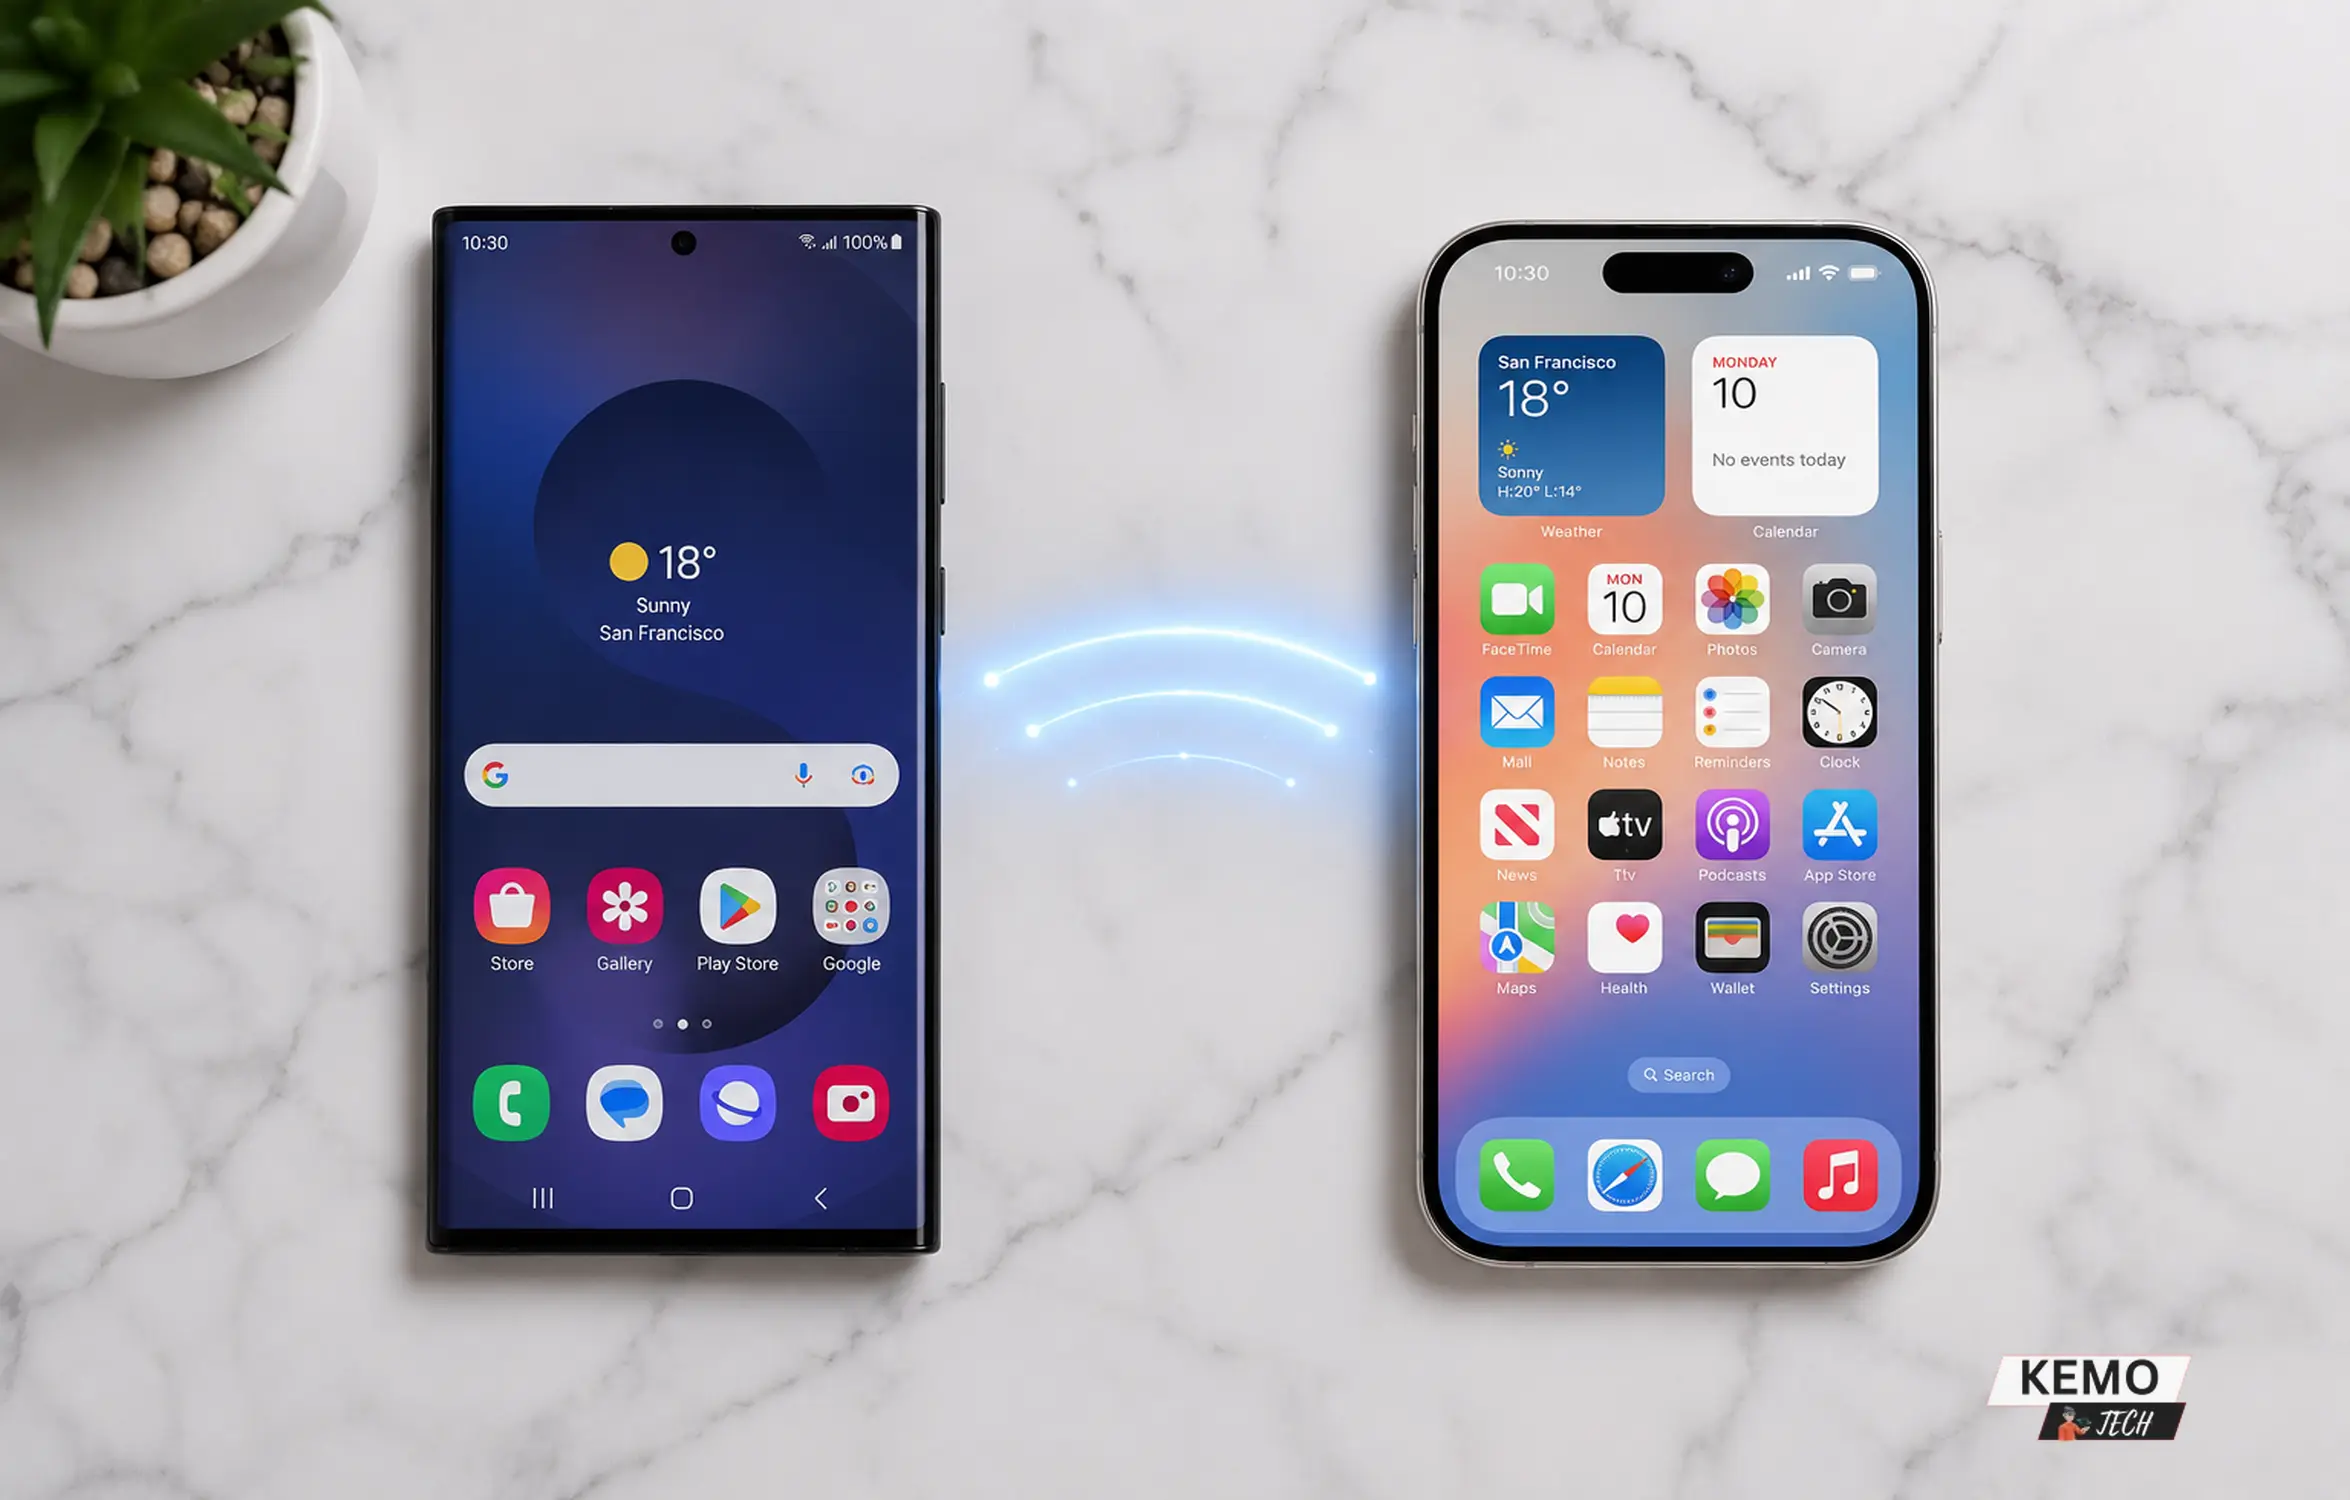
Wait — Is the Setup Assistant the Same as Siri or Google Assistant?
Many people confuse the iPhone Setup Assistant with voice assistants. They are completely different tools.
| Tool | Purpose | Platform | Runs After Setup? | AI Powered? | Activated By |
|---|---|---|---|---|---|
| iPhone Setup Assistant | One-time device setup | iPhone / iPad | No | No | Turning on a new or reset device |
| Google Assistant | Voice assistant for Android devices | Android | Yes | Yes | “Hey Google” or device controls |
| Gemini | Google’s AI assistant | Android, Web and Google services | Yes | Yes | Voice, text or Gemini app |
| Siri | Apple’s voice assistant | iPhone, iPad, Mac, Apple Watch | Yes | Yes | “Siri,” “Hey Siri,” or the Side Button |
The iPhone Setup Assistant is a one-time onboarding wizard that helps you activate and configure a new or reset Apple device. Once setup is complete, it no longer runs unless the device is erased and set up again.
Google Assistant and Gemini are ongoing AI assistants from Google that remain available after setup. On many modern Android devices, Gemini is becoming Google’s primary AI assistant, while Google Assistant continues to be supported on some devices and features.
Apple’s equivalent is Siri, which can be enabled during the setup process or configured later in Settings. Siri helps with everyday tasks such as sending messages, setting reminders, controlling smart-home devices, answering questions and launching apps using voice commands.
What You Need Before You Start
Before you begin, make sure you have the following ready:
An Apple Account (formerly known as an Apple ID) — required to activate iMessage, iCloud, the App Store and other Apple services. If you don’t have one, you can create a free Apple account at appleid.apple.com.
- A stable Wi-Fi connection — needed to activate your device and download updates.
- Your old device (optional) — if you want to transfer data using Quick Start or Move to iOS.
- Your network password — you’ll need it to connect to Wi-Fi during setup.
- A charged device — plug in if your battery is below 20% before starting.
How to Use the iPhone Setup Assistant: Step-by-Step
Step 1: Power On Your iPhone
Press and hold the side button until the Apple logo appears. Brand new iPhones will go straight to the “Hello” screen. If your device doesn’t turn on, connect it to a charger for a few minutes first.
Step 2: Select Your Language and Region
Choose your preferred language from the list. Then select your country or region. This determines your keyboard layout, date and time format and regional app availability.
Step 3: Connect to Wi-Fi
Select your Wi-Fi network from the list and enter the password. A stable internet connection is strongly recommended, as your iPhone needs to activate and communicate with Apple’s servers during setup. Most iPhone models can also activate using a supported cellular connection if Wi-Fi isn’t available. Alternatively, you can connect your device to a Mac or PC and complete activation through Finder or iTunes, depending on your system.
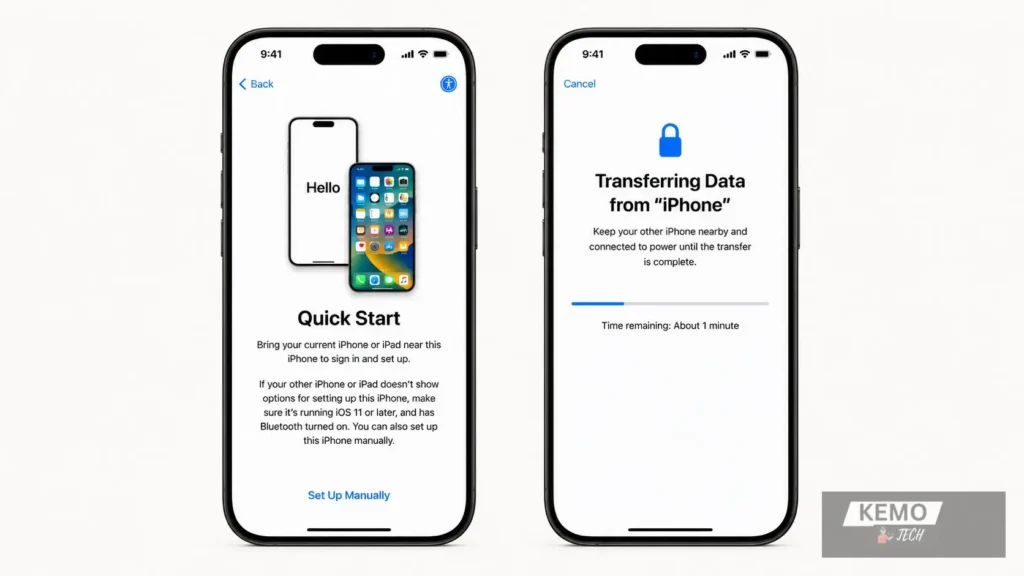
Step 4: Set Up with Another iPhone or Restore from Backup
At this stage the Setup Assistant will ask how you’d like to set up your device. You have several options:
- Quick Start — Hold your old iPhone near your new one. It transfers your settings, data and Apple account automatically over Wi-Fi or a cable.
- Restore from iCloud Backup — Sign in with your Apple ID and restore from a previous iCloud backup.
- Restore from Mac or PC — Connect via cable and restore through Finder (macOS Catalina or later) or iTunes (Windows).
- Transfer from Android — Download the Move to iOS app on your Android device to migrate your contacts, messages, photos and apps.
- Set Up as New iPhone — Start fresh with no data transfer.
Step 5: Sign In with Your Apple ID
Enter your Apple ID email and password to sign in to your Apple account. This unlocks iCloud, iMessage, FaceTime, the App Store and Apple Pay. If you’ve forgotten your password, tap “Forgot password?” to reset it. If you don’t have an Apple ID yet, tap “Don’t have an Apple ID or forgot it?” to create one for free.
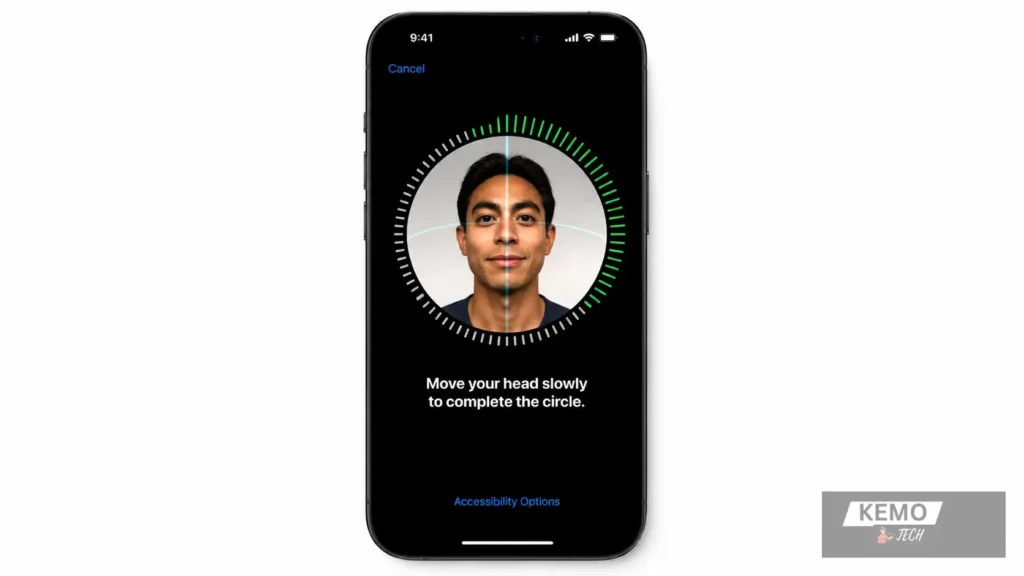
Step 6: Set Up Face ID or Touch ID
Depending on your iPhone model, you’ll be guided to set up Face ID (iPhone X and later) or Touch ID (older models with a Home button). Follow the on-screen instructions to scan your face or register your fingerprint. This is used to unlock your phone, authenticate purchases and autofill passwords.
You can also set up an Alternative Appearance if your appearance changes significantly or if you use accessibility features that affect Face ID recognition.
Step 7: Create a Passcode
Set a six-digit passcode as a backup to Face ID or Touch ID. You can also choose a four-digit code or a custom alphanumeric passcode from the options. Don’t skip this step — your passcode is the last line of defence if biometric authentication fails.
Step 8: Configure iCloud and Privacy Settings
iCloud keeps your photos, contacts, messages, notes and app data backed up and synced across all your Apple devices. During setup you can choose which services to enable — iCloud Photos, iCloud Drive, iCloud Keychain and more.
You’ll also be asked about:
- Location Services — controls which apps can access your location.
- Analytics — whether to share diagnostic data with Apple.
- App Tracking Transparency — whether apps can track your activity across other apps and websites.
You can adjust all of these at any time in Settings → Privacy & Security.
Step 9: Set Up Siri, Apple Pay and Screen Time
The final steps allow you to:
- Set up Siri — Apple’s voice assistant. Follow the prompts to enable Siri and voice recognition features. Unlike Google Assistant, Siri is exclusive to Apple devices.
- Set up Apple Pay — Add a debit or credit card for contactless payments.
- Enable Screen Time — Set daily app limits and downtime schedules, especially useful for children’s devices.
- Choose your display settings — Zoom display or standard view.
Once done, tap Get Started and you’ll land on your iPhone home screen — fully set up and ready to use.
How to Go Back to the iOS Setup Assistant
Once setup is complete, you can’t access the Setup Assistant again without resetting your device. To do this:
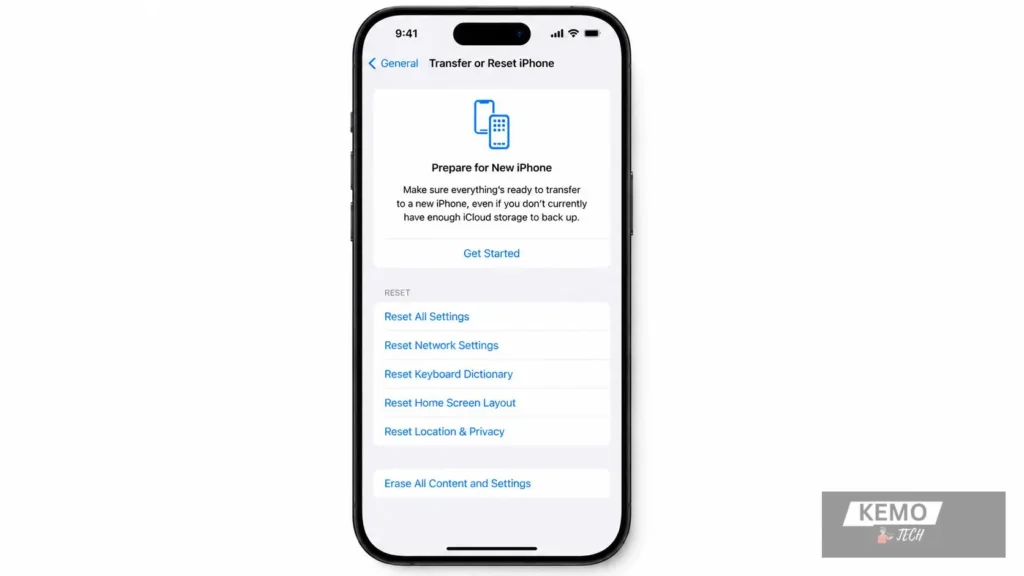
- Go to Settings → General → Transfer or Reset iPhone
- Tap Erase All Content and Settings
- Enter your passcode to confirm
- Your iPhone will restart and the Setup Assistant will launch again
Warning: This permanently deletes all data on your device. Always back up to iCloud or your computer before performing a factory reset.
Troubleshooting Common Setup Issues
iPhone stuck on the Hello screen Try force restarting your device. For iPhone 8 and later press and release Volume Up, press and release Volume Down, then press and hold the Side button until the Apple logo appears. If your iPhone remains stuck, check our full guide on iPhone stuck on Apple logo for more fixes.
Can’t connect to Wi-Fi during setup Double-check your password. If the network doesn’t appear, move closer to the router or use a mobile hotspot. You can also skip Wi-Fi and activate over cellular.
Apple ID not working Make sure you’re using the correct email address linked to your Apple account. If your account is locked, visit iforgot.apple.com to reset your credentials.
Quick Start not showing up Both devices need to be close together with Bluetooth enabled. Make sure your old iPhone is running iOS 12.4 or later.
Transfer taking too long Large iCloud backups or slow Wi-Fi can extend transfer times. Use a 5GHz Wi-Fi connection where possible, or transfer via cable to a Mac or PC for faster speeds.
Frequently Asked Questions
How long does iPhone setup take?
Most new-device setups take 10–30 minutes. Restoring large backups can take significantly longer.
Can I skip steps in the Setup Assistant?
Yes. Steps like Face ID, Apple Pay and Siri can be skipped and set up later in the Settings app.
What is the Setup Assistant used for?
It’s Apple’s one-time onboarding tool for activating and personalising a new or reset iPhone. It’s separate from Siri and Google Assistant, which are voice-activated AI assistants.
Can I use an iPhone without an Apple ID?
You can complete basic setup without an Apple ID, but you won’t be able to access the App Store, iCloud, iMessage or FaceTime.
Does the Setup Assistant back up my data?
No — it helps you restore from an existing backup, but the backup itself must have been created beforehand via iCloud or iTunes/Finder.
Your iPhone Is Ready
The iPhone Setup Assistant takes the stress out of switching to a new device. Whether you’re setting up your first iPhone or upgrading to a newer model, following these steps ensures everything is configured correctly from the start — including your Apple Account, Face ID, iCloud settings, data transfer and privacy preferences.
If you ever need to start over, you can erase your device and run through the Setup Assistant again. Once everything is set up, you’ll be ready to explore the latest iPhone features and get the most out of Apple’s ecosystem. You can also check out our guide to the latest iOS updates and features to discover what’s new on modern iPhones.
And when you need a helping hand, Siri is always available with a simple “Siri” or “Hey Siri” command to answer questions, send messages, set reminders and more.